Sunday, February 26, 2012

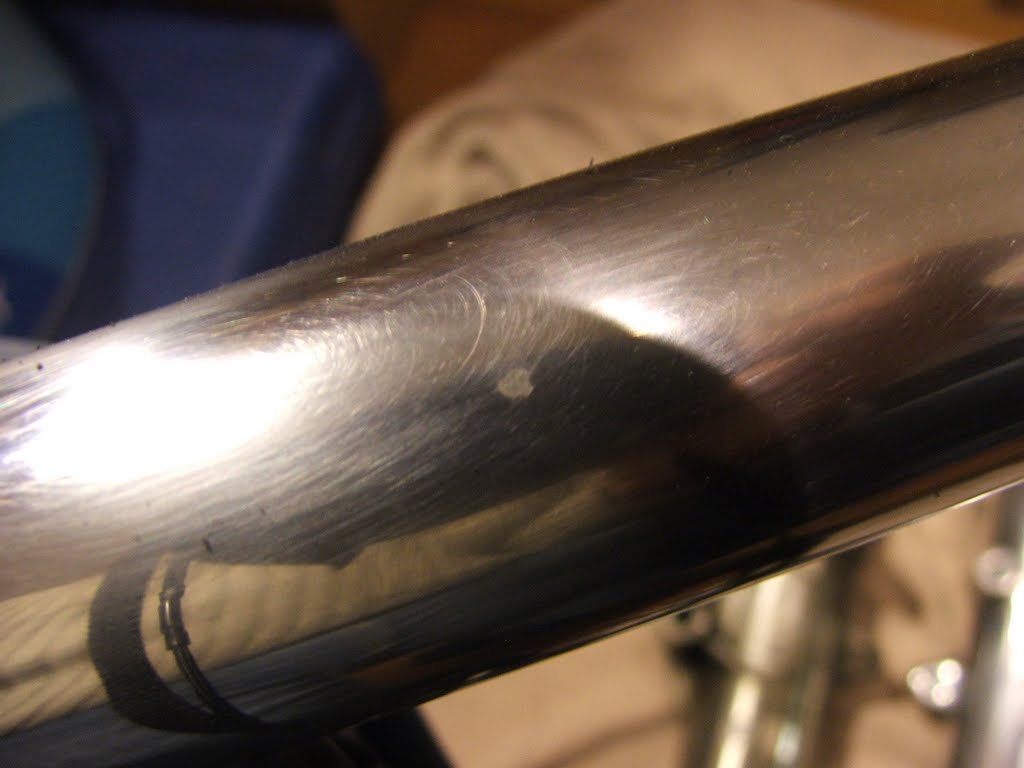
Polishing the Triple Clamp

Stripped and polished. Total time spent, about 6-8 hours over 3 weeks.
Duram paint stripper works a treat
Before sanding
After sanding; Before polishing
Sparkly!

Wednesday, September 28, 2011

Parts arrived

Some new parts arrived from Halcyon and David Silver Spares. Hand luggage courtesy of my mother-in-law (thanks Maggie!)

Halcyon mirrors are going to look great!

Couldn't resist those bling valve caps

Tuesday, September 27, 2011

Can't stop the coffee racer

No, seriously... I crashed it into the back of a Toyota Fortuner last week, proving that 35 year old wooden blocks do not compare well with triple disk Brembo brakes. I thought I was compensating for the added stopping distance required, but obviously not enough. Earned myself a smashed headlight + mounting ear and a nice fat bruise on my upper thigh. Not to mention the bruise on my ego, or the dent in my wallet the Fortuner bumper's going to make! Makes me appreciate how effortlessly the BMW obeys every rider input, and I'm now set on a dual disk conversion for the Honda.

Sometimes it really feels like this project is going backwards far more than it's progressing.

Smashed headlight bucket + replacement (off a late model 550K)

Sunday, September 11, 2011

Just some pics


The clubmans are mounted upside down again, and the riding position is actually quite comfy. I will switch them around again soon as I get a chance though...

Mirrors have arrived at their destination in Weldon and will make their way here in about 3 weeks time as part of my mother-in-law's luggage.

Braided brake lines are about to be ordered from Slingshot Cycles, and I've sent a query off to SpeedMoto to check the measurements of their fork boots. I they fit, I may just get a pair of their white Gran Turismo grips:

 I'd prefer to have them in ivory to match the paint scheme I have in mind, but perhaps I can dye them...

Saturday, September 10, 2011

Fork Rebuild

Well, I had a frantic 2 weeks but managed to get everything sorted for roadworthy and the bike is now registered in my name. Big milestone... now I can relax a bit and take my time to figure out what next.

In the mean time, here's some detail on how the fork rebuild turned out.

Taking them apart was relatively easy, apart from getting blasted by stinky old fork oil! I opened the LHS drain plug very carefully, but nothing came out. Not even a drop. Fine, I thought... let's check the RHS... WHOOOSH!!! It sprayed smelly black fork oil over me, the floor and halfway up the wall!

Pumping the LHS produced about 3 pumps worth of clear water before any oil drained out. Pretty messy business, but I got them cleaned up and taken inside to assess the damage. Here's the LHS one.

LHS: Pretty badly pitted
Pitting, close-up
More pitting on the back
The RHS was fine, so I decided to try a repair job. Bought some Pratley's Steel quickset and set to work wet-sanding the pitted areas with 220 grit and WD40. Cleaned the oil off thoroughly with undiluted Clean Green, and then some lacquer thinners to be sure.
Pratley's Steel Quickset applied after sanding
I let it dry for a good 24h and then carefully wet-sanded it again, first with 220 grit, but then switching to 400 and eventually 600 as it got close to flush with the surrounding surface. I only had one plug come unseated, but I just repeated the process and it stayed put the second time around.

Here's the completed repair (the black specs are from polishing the fork lowers... i should have wiped it off before taking these photos)


The patch on the right is the one that had to be redone
I was pretty freaked out by the stuff I took out of the forks. They contained what can only be described as  grinding paste. I'm surprised they weren't worn down more. The fork seals were a bitch to remove, but I eventually got them out pretty easily with a tyre lever. No damage to the walls.

Yuk!
Polishing the sliders was hugely rewarding. I can see how you can get addicted to polishing all your aluminium bits. Wasn't going for mirror finish here, but it came out very nicely.

220 grit wet-sand and coarse Moore's disc on Dremel
Started with 220 grit and coarse Moore's discs on the Dremel for the curvy bits, then worked up to 600 and 1200 grit before polishing with a wheel fitted to my drill.


Now I just need to find the right fork boots. Nearly R500 for an original set from Honda SA, or dust caps for about R160. Given the sad state of the tubes, I think I'll rather go with boots as they'll provide more protection. These ones would not fit, so I returned them.


Have to find some soon though!

  • Upper diameter: 48mm
  • Lower diameter: 58mm
  • Length: 200mm (max)

Wednesday, August 24, 2011

Roadworthy, Take One

I took it to a testing center for a first attempt on Saturday. Didn't expect it to pass, but thought I'd get a To-Do list out of it anyway. Shocker is, they only give you 14 days to correct it... I thought it was 6 weeks!

Here's the list:
  • Leaking forks
  • No chain guard (I removed it for cleaning)
  • Hand grips loose 
  • Accelerator not returning
  • Hand grips too low
  • Chain needs adjustment
The tester also told me I had to "put all the fairings back on, a child might come and burn their hands on these exhaust pipes" (sic). He obviously had it confused with a Gold Wing or something, but relented when I told him he's looking at the original configuration, and I'm sure the missing side panel (battery cover) won't provide much protection. I could tell he was one of those guys that really enjoyed having some authority bestowed on him... probably gets beaten up by the wife at home.

I should've waited before turning the Clubmans back around... have just created unnecessary work with the grips. They're apparently "lower than the seat" (bullshit), and my quick glue-job the night before didn't hold up. Accelerator tube is also sticking. Got some new el-cheapo grips from Wicked Cycles (along with EMGO fork boots which may be too small). Might just swap the bars back around just to get it sorted quickly while I focus on the real issue: fork rebuild. 

But that's another post... in the mean time, some riveting pictures of the battery box: 

After some sanding
CoastCote etch primer


Thursday, August 18, 2011

Horn

Short-term goal: roadworthy. That meant putting everything together and making sure the basics are all in order so that I can take it for a roadworthy assessment. Don't expect it to pass first time, but at least then I'd have a list of issues to prioritise for sorting out.

Got started straight after breakfast on Saturday morning, and things were going swimmingly until I pressed the horn button and nothing happened. I thought I'd sorted it out since it worked while off the bike connected to an external battery. Some percussive maintenance and lots of swearing followed, until I traced the fault to the switch. 

Opened up the LHS controls to find it caked with a thick greasy paste. The only option was to strip it down completely and clean it out, then figure out if the switch was salvageable. This took a good 3 hours, and putting it back together was no mean feat either. Lots of little fiddly bits that like flying off into inaccessible crevices. 

No pics as I was rushing to get to the testing centre before they closed. Didn't make it. 

In any event, the switch is now clean, lubed up, the horn button has a new spring to facilitate the "flash to pass" function (flashes your headlight, I assume to let the guy in front know that you intend to pass...) and the indicator and dip switches are all a little less "crunchy" in their operation.

Oh, and I received some eBay parts: 4 Emgo el-cheapo pod filters, some fork seals, and the replacement oil filter bolt. Emgo claims to be endorsed "by the winningest team in US Endurance race history". Winningest?! That really shouldn't be a word.

Let's hope those filters aren't the 'failingest'!