Well, I had a frantic 2 weeks but managed to get everything sorted for roadworthy and the bike is now registered in my name. Big milestone... now I can relax a bit and take my time to figure out what next.
In the mean time, here's some detail on how the fork rebuild turned out.
Taking them apart was relatively easy, apart from getting blasted by stinky old fork oil! I opened the LHS drain plug very carefully, but nothing came out. Not even a drop. Fine, I thought... let's check the RHS... WHOOOSH!!! It sprayed smelly black fork oil over me, the floor and halfway up the wall!
Pumping the LHS produced about 3 pumps worth of clear water before any oil drained out. Pretty messy business, but I got them cleaned up and taken inside to assess the damage. Here's the LHS one.
 |
| LHS: Pretty badly pitted |
 |
| Pitting, close-up |
 |
| More pitting on the back |
The RHS was fine, so I decided to try a repair job. Bought some Pratley's Steel quickset and set to work wet-sanding the pitted areas with 220 grit and WD40. Cleaned the oil off thoroughly with undiluted Clean Green, and then some lacquer thinners to be sure.
 |
| Pratley's Steel Quickset applied after sanding |
I let it dry for a good 24h and then carefully wet-sanded it again, first with 220 grit, but then switching to 400 and eventually 600 as it got close to flush with the surrounding surface. I only had one plug come unseated, but I just repeated the process and it stayed put the second time around.
Here's the completed repair (the black specs are from polishing the fork lowers... i should have wiped it off before taking these photos)
 |
| The patch on the right is the one that had to be redone |
I was pretty freaked out by the stuff I took out of the forks. They contained what can only be described as grinding paste. I'm surprised they weren't worn down more. The fork seals were a bitch to remove, but I eventually got them out pretty easily with a tyre lever. No damage to the walls.
 |
| Yuk! |
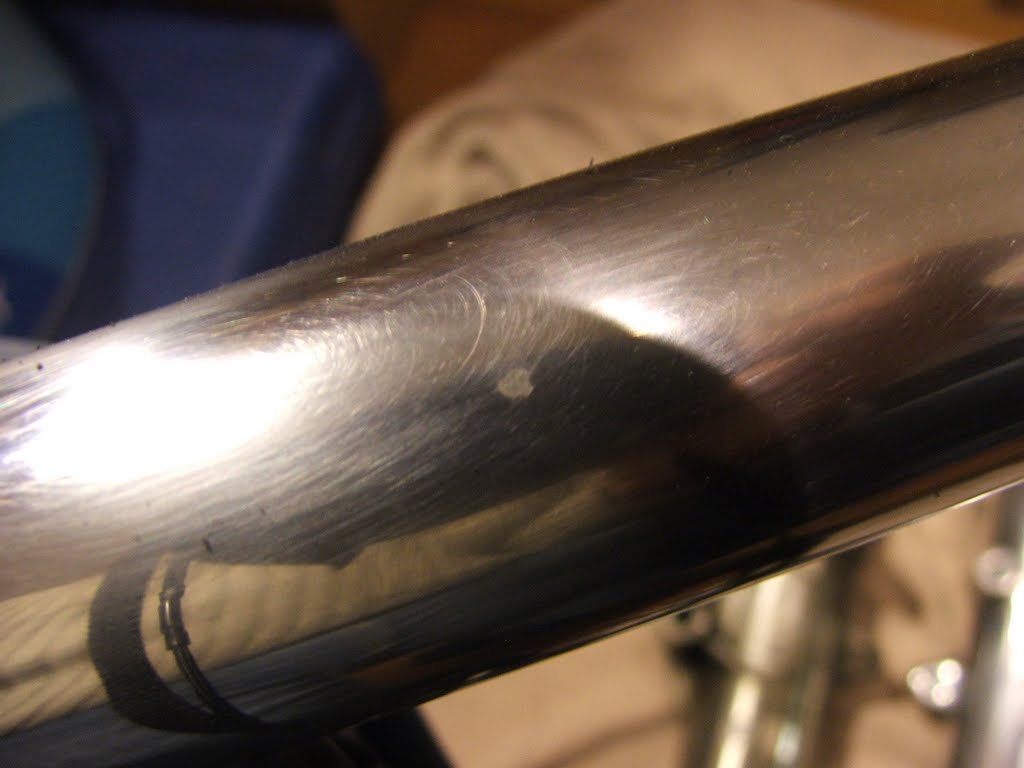
Polishing the sliders was hugely rewarding. I can see how you can get addicted to polishing all your aluminium bits. Wasn't going for mirror finish here, but it came out very nicely.
 |
| 220 grit wet-sand and coarse Moore's disc on Dremel |
Started with 220 grit and coarse Moore's discs on the Dremel for the curvy bits, then worked up to 600 and 1200 grit before polishing with a wheel fitted to my drill.
Now I just need to find the right fork boots. Nearly R500 for an original set from Honda SA, or dust caps for about R160. Given the sad state of the tubes, I think I'll rather go with boots as they'll provide more protection. These ones would not fit, so I returned them.
Have to find some soon though!
- Upper diameter: 48mm
- Lower diameter: 58mm
- Length: 200mm (max)


No comments:
Post a Comment